Monday, August 20, 2012

High Maintenance

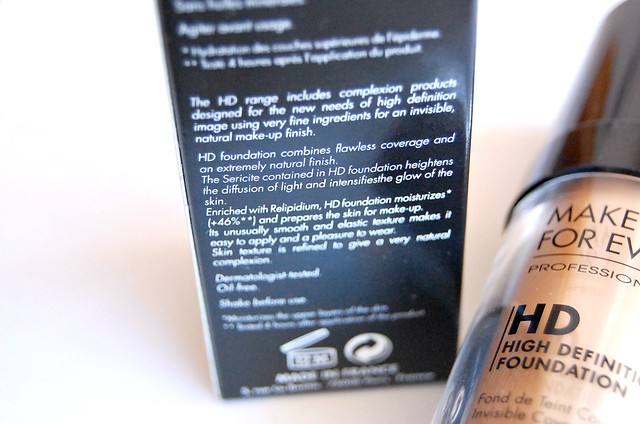
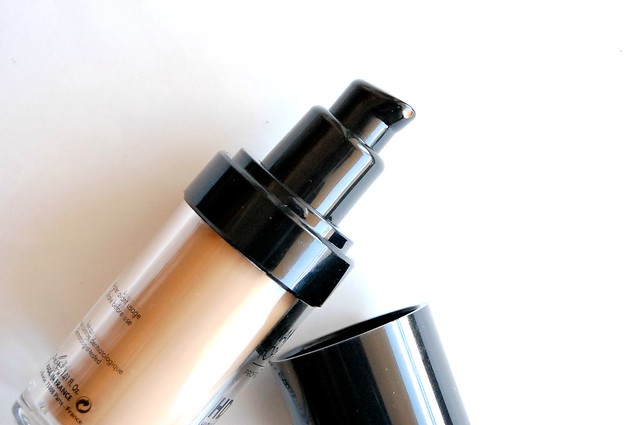
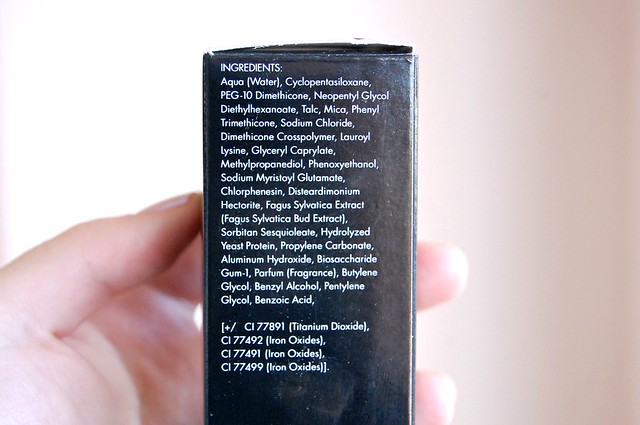
I had high hopes for Make Up For Ever HD foundation given glowing testimonials I've read and the fact it’s my first real foray into more expensive/high end foundation. I also very much wanted to like it considering I spent $42 on it (still a discount from the usual $59), which is about twice as much as I'd normally be willing to shell out for a foundation, an element of makeup that I'm not even all that interested in (the only thing I care about less is filling my eyebrows, lip liner and lip gloss).


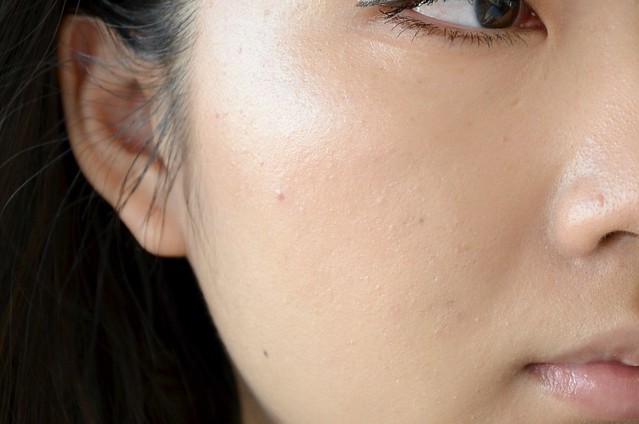
Thin layer of HD applied with Real Techniques Stippling Brush

I tried very, very hard to make it work. I pretty much tried every way I could think of applying it, including:

The only method I haven’t tried is with a sponge or Beautyblender, because I can’t be bothered with sponges and I’m not completely sold on the Beautyblender given the cost and how fiddly it seems.

The first few days trying this foundation were real disappointments. It looked unnatural, cakey, clung onto dry patches of skin that I didn’t even know I had, and basically I wanted to give up on it. I also hated the fact it dried matte and not glowy or semi-matte. It’s often been compared to Revlon PhotoReady (a foundation that I loved, until it randomly started caking on me), but I find PhotoReady much, much glowier and brightening. HD could be classified as semi-matte, but is definitely more on the matte side for me, especially when first applied. But it's one of those rare breeds that actually looks better as the day goes on and it settles into your skin.

I found the trick to making this foundation work is MOISTURISE LIKE CRAZY. I don’t even think my skin is dry, but maybe it’s because it’s winter, or I haven’t been drinking enough water, or the air conditioning in the office is drying my skin out, but the foundation sat on my skin horribly. It was only after I more or less slathered my whole face in Nivea Soft the night before, concentrating on the dry areas at the tops of my cheeks and around my mouth, then washed my face with only water the next morning and moisturised with my Dove Essential Nutrients Protective Day Cream with equal zeal, that I found results. I used about 3/4ths to 1 pump of the foundation on the back of my hand, dipping my Real Techniques stippling brush lightly into the product and working it into my skin as gently as I could in circular motions.

I never use the stippling brush for my foundation, but it was literally the last resort after trying everything else. And it worked the best, though coverage was on the sheer side. Minimal clinging to dry patches, natural finish, lasted the whole day without oiliness or caking around my nose (an issue I've experienced with almost every foundation I've used), looked good under every lighting condition. However, the next two days I tried the same method, and found my skin increasingly start to flake off weirdly as I was applying the foundation. Almost like the brush was exfoliating my skin, forming little shavings that stuck to my face and were impossible to wipe off completely without making it worse. So, back to square one.

At best, this foundation is natural looking, long lasting, doesn’t cake, a good colour match for me, and gets slightly glowier as the day goes on. At worst, it’s the worst foundation I’ve used.

It takes a lot of effort to make work. It's temperamental. I haven't found any rhyme or reason to why it works one day, and fails spectacularly the next. I don’t recommend it for those with dry skin. But when it works, it really impresses, and while I haven’t worn it to an occasion where I've been photographed, I’ve heard that one of its primary selling points is that it photographs beautifully.

I’m feeling like I have the foundation bug now, because I’m really curious to try some other very popular foundations that are on the pricier side, like Chanel Vitalumiere Aqua and NARS Sheer Glow. Even with mixed results, Make Up For Ever HD has had the unexpected side effect of elevating foundation a few notches up the ladder of my makeup interests.

Sunday, August 19, 2012

Tint For Eyes

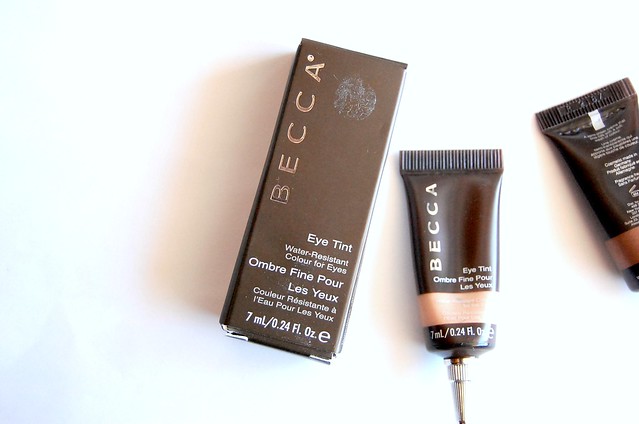
These Becca Eye Tints are a good example of why I don't really get high end makeup. I'd never buy them at their retail price of $42 each, but since Gilt and Vicuna are Madison magazine freebies this month, I grabbed both. I thought they were a bargain considering the magazine is about a fifth of the cost of one Eye Tint.


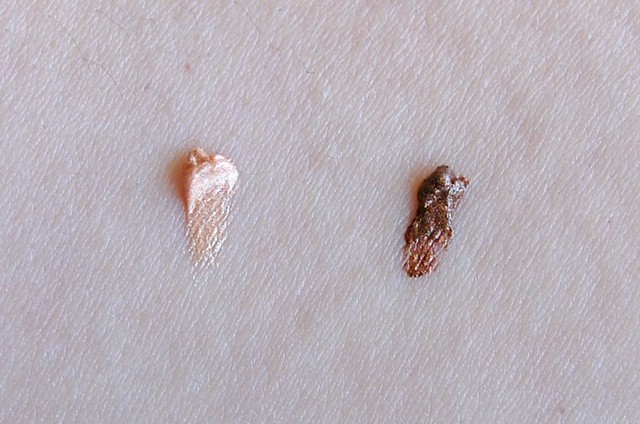
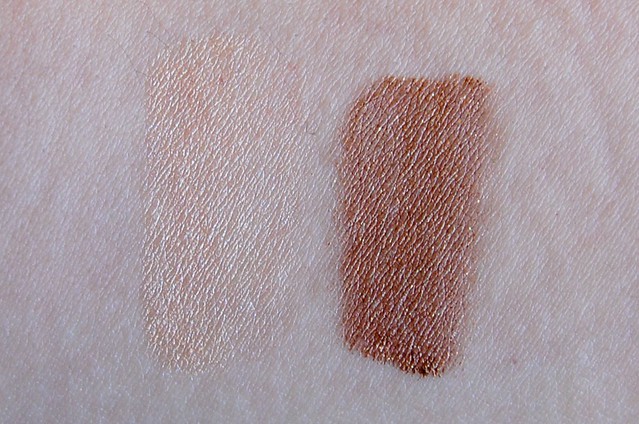
Vicuna is described as an "opal" shade but it just looks like a slightly peachy, very light goldish beige to me. I didn't really see any dimension or special lustre to the colour. It wasn't particularly complex, gorgeously shimmery or unique. On the eyes, it didn't do much but create a barely noticeable sheen. I'd recommend this shade only for those with quite fair skin, as I'm not exactly tan or dark skinned, but the colour hardly showed up on me. I can only imagine using Vicuna as an eye primer, or possibly as a highlighter for the face.

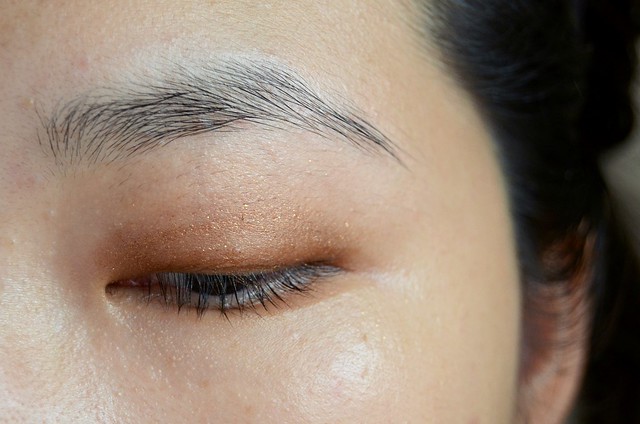
Gilt is slightly more promising in that it's a darker shade, a warm, chocolatey bronze with gold shimmer. It's able to give more definition to the eye without looking too heavy because of the sheerness of the colour. This is something you could still wear during the day, despite it looking quite dark in the tube and having the potential to be built up in intensity.

l-r: Vicuna, Gilt

Indirect sunlight

Direct sunlight

Gilt over lid

I'm not enamoured of these Eye Tints for a couple of reasons. First, I noticed when I first squeezed out a bit of Vicuna that there was some clear liquid (oil?) coming out, before any pigment. The product had separated. You have to shake the tube somewhat vigorously to try to prevent this from happening, or squeeze out a bit more of the product to get to the pigment. Second, the colours of the Eye Tints are on the sheer side and they have a slightly runny and thin consistency. They're not creamy and super pigmented, which are two qualities that I'd normally want in my cream eyeshadows. These are far more liquid and easily spread, but in turn, you lose the pigmentation factor. I found it difficult to build up the colour, as the product is both sheer and takes a while to set, so you end up smearing or trying to pat on more product on top of existing product that hasn't fully set or dried.

I feel that I have several other cream eyeshadows from brands like Maybelline, Essence or even Revlon that perform better and that I prefer, so I'm not impressed by these and I can't see how they're superior to justify the much heftier price tag. On the plus side, the packaging is attractive and quite unique, it seems to have decent staying power once it's set, you only need a very small amount, the colours are all very wearable neutrals, and they're relatively quick and easy to apply with fingers. For the price I paid, I'm satisfied that I bought these, if only to have two Becca products in my possession for a fraction of their normal price, but whether I'll actually end up using them over my existing cream shadows is another story.

Sunday, August 12, 2012

Glitter and Hype

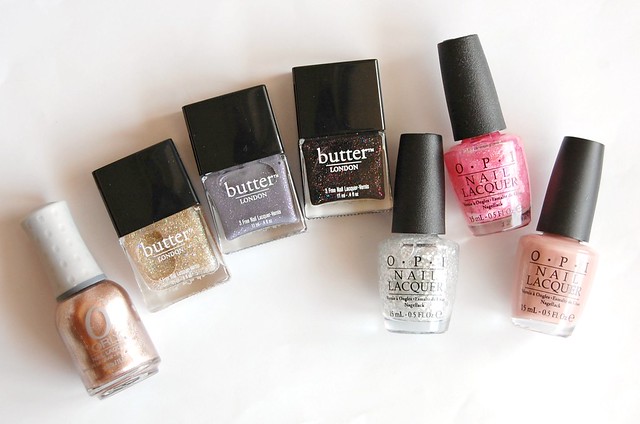
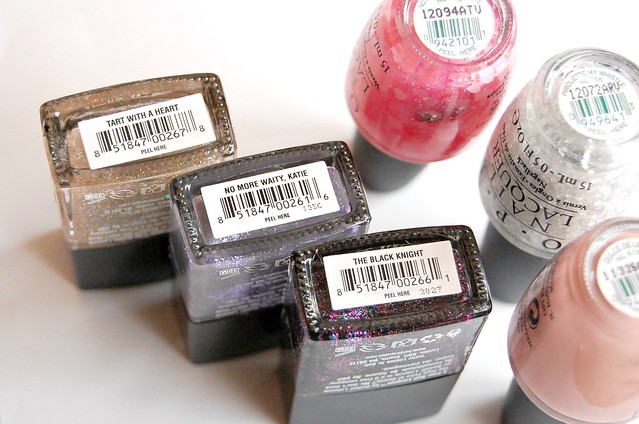
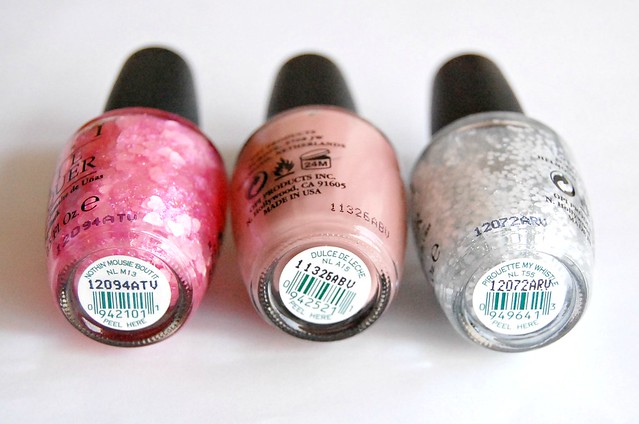
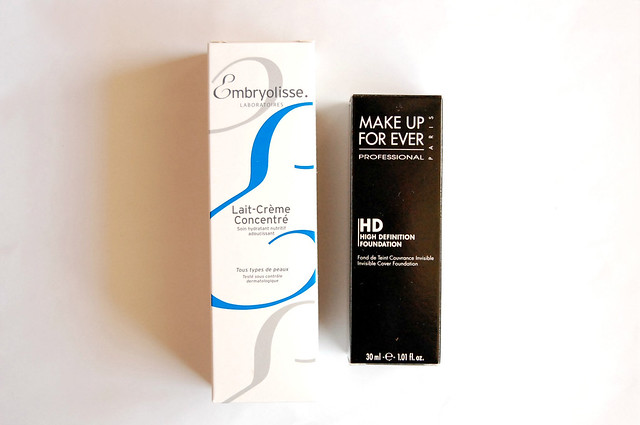
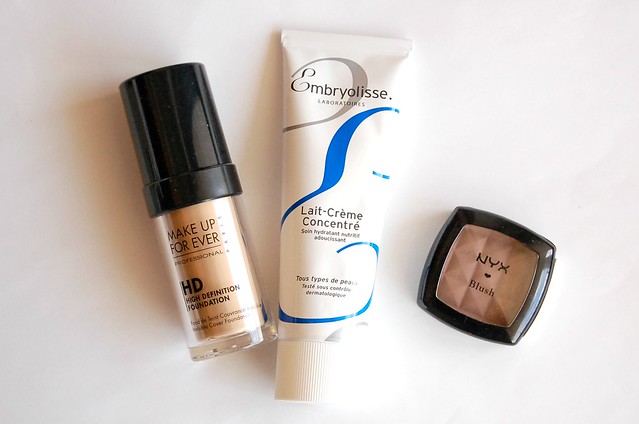
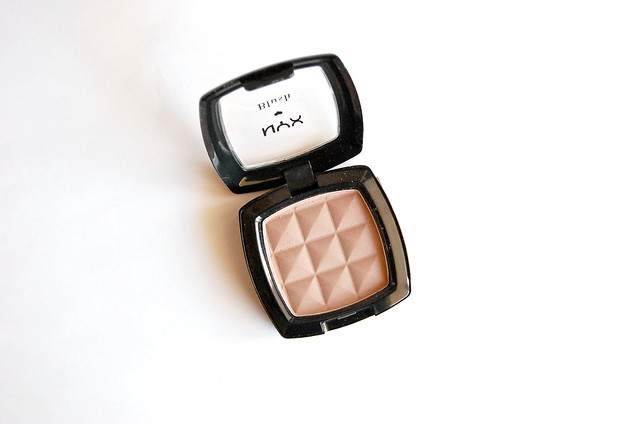
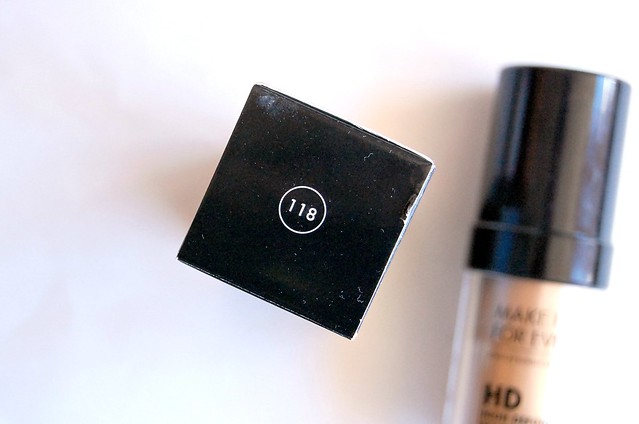
I attended the Spa & Beauty Expo as a guest of my friend and took advantage of the trade-only event as best as I could (i.e. spent way too much money). I bought 3 OPIs (Dulce De Leche, Pirouette My Whistle, Nothin' Mousie 'Bout It), 3 Button London nail polishes (Tart With A Heart, No More Waity, Katie, The Black Knight), Orly Rage, Embryolisse Lait-Crème Concentrè, Make Up For Ever HD Invisible Cover Foundation (#118) and NYX blush in Taupe. A few of these products are much hyped but difficult to get a hold of (the foundation and Embryolisse in particular), so though they were much more than what I'd usually spend, I willingly handed my credit card over like the chump I am.


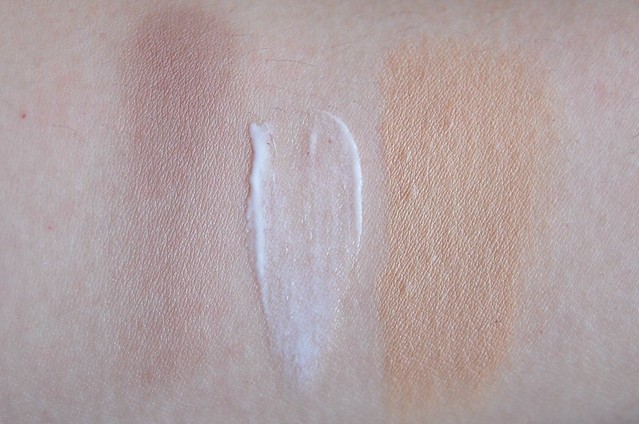
l-r: NYX blush in Taupe, Embryolisse Lait-Crème Concentrè, MUFE HD Foundation in 118


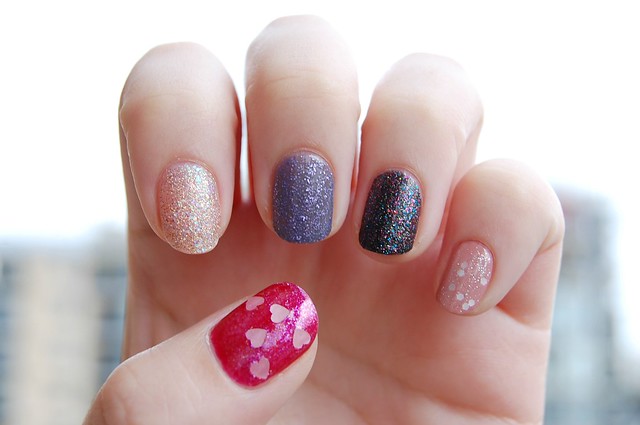
I have on my thumbnail OPI Nothin' Mousie 'Bout It (over Ulta3 Brandy Wine), index finger is Button London Tart With A Heart, middle finger is Butter London No More Waity, Katie, fourth finger has on Butter London The Black Knight, and pinky is OPI Pirouette My Whistle over OPI Dulce De Leche.

I'll do individual reviews on some of these products separately, but here are some first impressions. I still think OPI is the best nail polish brand. I couldn't decide on which Butter London shades to get and in retrospect, maybe I shouldn't have selected three glitters. It's difficult to fish out the heart-shaped glitter in Nothin' Mousie 'Bout It, but it's an adorable polish regardless. NYX Taupe thankfully isn't too ashy and clashing on my yellow-toned skin (but whether I can pull off contouring still remains to be seen). The Embryolisse Lait-Crème Concentrè seems to owe its popularity more to the fact it acts like a makeup primer, rather than being a superior moisturiser. Even though I think I chose a relatively light shade in the Make Up For Ever HD foundation, for some reason it still seems quite dark and yellow. Coverage also seems to be a little higher than what I normally go for. I'm looking forward to trying it out properly and giving a more detailed review.

Wednesday, August 8, 2012

Charmed, I'm Sure

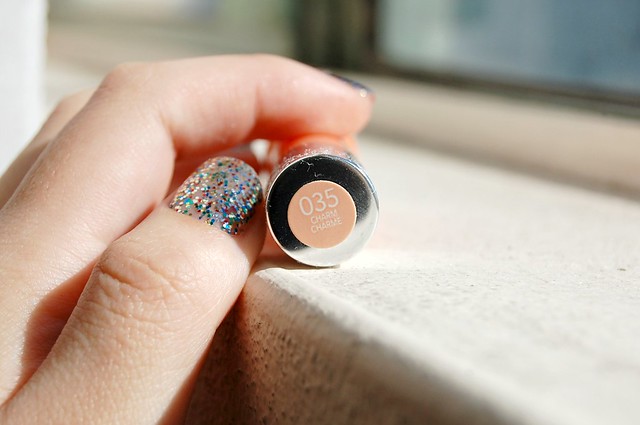
Revlon haven't yet released their Just Bitten Kissable Balm Stains in Australia yet, but they're available on Ebay for beauty enthusiasts who simply can't wait. Not being Ebay savvy and having a general dislike of Internet shopping, instead I seized the opportunity to get my hands on Revlon's follow up to their popular Lip Butters by asking a friend to scout one for me on her recent trip to the US. The particular shade I was after was Charm (035), after seeing it on various blogs and deciding that it was the colour that appealed to me the most. Honey and Sweetheart are closely behind, but I managed to limit myself to just one.


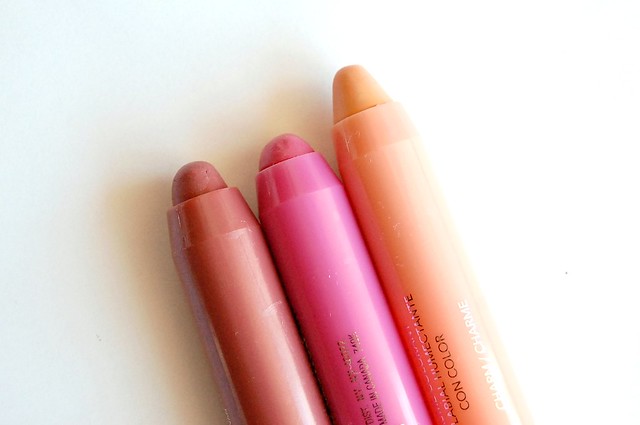
I've amassed 5 lip crayons from 3 different brands (Clinique, Face of Australia, Revlon) in a short period of time. As cute as they are, the novelty of them has worn off considerably. Applying colour to your lips with a chubby lip crayon is pretty much like having an oversized lip liner that leans more on the sheer side. There really isn't any advantage to a lip crayon over a regular lipstick or stick of lip balm, except that it takes longer and you need to fill in your lips, sometimes resulting in slightly uneven application. I've noticed that the Revlon is a lot firmer and more pigmented than the Clinique Chubby Sticks and the Face of Australia Sheer Gloss Lip Crayons, which are sheerer and softer in texture.


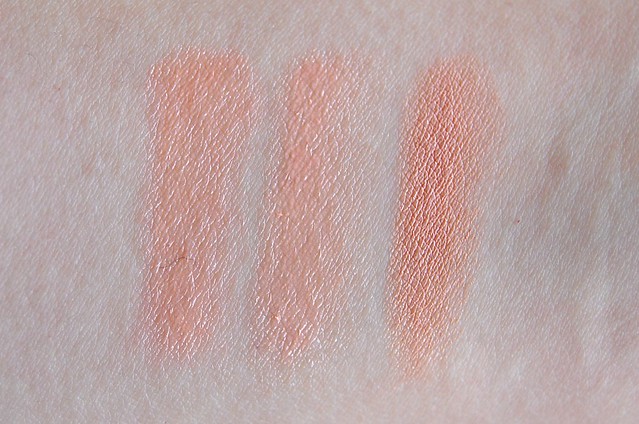
l-r: Charm, Revlon Lip Butter in Creamsicle, Face of Australia Lip Quench lipstick in Iced Almond 

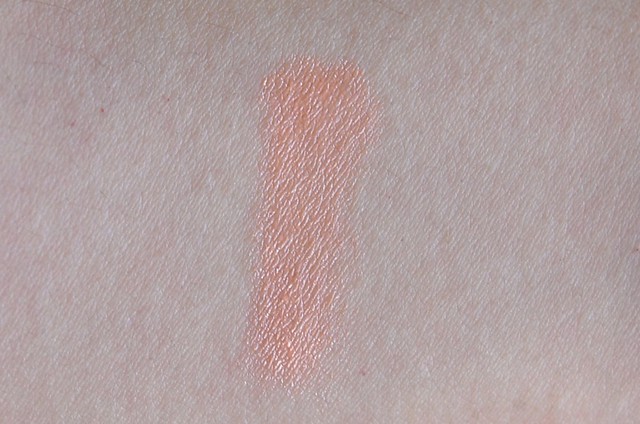
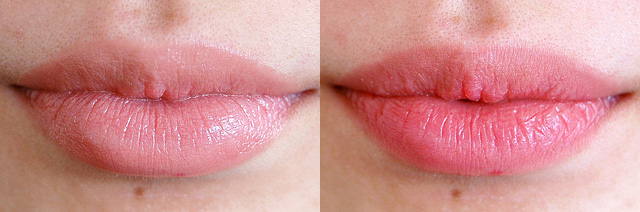
The scent of the Revlon Just Bitten Kissable Balm Stain reminds me strongly of candy canes. Sweet and minty. For such a light colour, the crayon itself is decently pigmented, but doesn't quite override the natural pigmentation of my lips. Charm is a peachy nude that gradually leans more and more pink. The colour immediately reminded me of Revlon Lip Butter in Creamsicle, which sure enough, is more or less an exact dupe (possibly a touch lighter). The thing I didn't expect was the weird transformation Charm would have on my lips. First applied, it's quite nude and peachy, but then it becomes increasingly darker and more pink. If you wipe off the product completely, it leaves an almost coral stain to the lips. It stains much darker, brighter and more red than the actual crayon colour, which is unexpected and a bit bizarre.

l-r: Charm when initially applied, stain on lips when Charm is rubbed off

I'm not sure whether other lighter colours have a similar effect. I'd imagine the darker pinks and reds would have similar staining properties which wouldn't be too unusual, as the stain would more closely match the shade of the lip crayon. The strong stain that the Just Bitten Kissable Balm Stain leaves on the lips does set it apart from other lip crayon products I've tried. The visually appealing packaging is very close to the Clinique Chubby Sticks, but a bit lighter in weight and with a colour-coded cap as well as body. I only wish that the initial colour stayed on the lips and didn't turn into something totally different.
Related Posts Plugin for WordPress, Blogger...