Showing posts with label glitter. Show all posts

Wednesday, May 6, 2015

Party Popper Nails

Remember when I was obsessed with tracking down the limited edition Face of Australia Glitterati nail polishes a couple of years ago? Probably not. But the fixation was real. With the help of friends, I managed to find and buy all 8 polishes in the collection. After the pursuit was over though, I immediately lost interest (gotta love human nature). Recently, I was drawn again to Boogie Wonderland as I remembered it'd been a long time since I last wore it. It's a milky, multicoloured confection packed with "small orange, blue, purple and magenta hex glitter with blue and green curls, iridescent bars and huge holographic hexagonal pieces in a whitish blue base". And yes, I had to quote myself just then, since I evidently was much more observant and descriptive with nail polish back in 2013. I don't think I could have come up with that now if you asked me.


I decided to paint a base of Nails Inc. Porchester Square since Boogie Wonderland is a pale blueish-white on its own. That means it's perfect for transforming any base colour to a lighter, more pastel version of itself. In the pictures, my nails look more blue, but in real life it's more of a pale, ever so slightly purplish mushroom/taupe/grey shade.

What I love about Boogie Wonderland, apart from the fact it looks like someone unleashed a party popper on your nails, is that it's a brilliant layering polish. There's a translucency to it which means it won't completely overpower any colour you paint underneath, but the formula remains very smooth, not too thick or thin, and a breeze to apply evenly. I needed only 2 coats to achieve the glitter density pictured, which I thought was pretty impressive given how much is going on. I was able to get a good mix of everything without having to try too hard to achieve a balanced spread.

As always, I painted a coat of my beloved Sally Hansen Insta-Dri Top Coat to seal everything in and speed up the drying process. In the past few days, I've received multiple compliments and people asking me if my nails are shellac. I tend to get bored of nail polish easily (it's not uncommon for me to get rid of a nail polish only a day after painstakingly applying it the previous night), but this combination has been going strong for a week now with no signs of imminent disinterest.

Wednesday, March 25, 2015

Airy Gleam

I was over nail polish for a while (which may have been evident by the lack of nail polish posts — my last one was almost 6 months ago), but since I was given the OPI "The Iconic Four" minis set for my birthday earlier in the month, I've experienced a major resurgence in interest. A recent trip to Cosmo Cosmetics unearthed a sole, pristine bottle of OPI Last Friday Night, a limited edition polish from the Katy Perry collection all the way back in 2011. I already have all the polishes from that collaboration except for Last Friday Night, which I deliberately didn't purchase as I always thought it was too sheer. But for the sake of completing my collection, and the fact I never thought I'd come across another bottle again, I ended up buying it. I figured I frequently paint 3-4 coats of a light coloured polish to achieve full opacity, so why wouldn't I do the same for a sheer glitter?


OPI Katy Perry Collection


The best way I'd describe Last Friday Night is a translucent, pale cornflower blue jelly polish loaded with glitter reminiscent of China Glaze Snow Globe. There are similar polishes that replicate or come close to achieving the iridescence in Last Friday Night (not only Snow Globe, but Revlon Heavenly, Essie Shine of the Times), but none of them have the same ethereal, barely there blue base. It really adds something extra to the polish and makes it more unique.

I painted 4 coats which I feel is the minimum required to wear the polish on its own, rather than using it as a top coat. I did try it over a navy blue polish, and while the contrast made the glitter pop, I felt it lost the character of the polish. If I wanted a glitter top coat, I'd just use any of the other polishes I mentioned that have a clear base. I get that not everyone will have the desire, patience or time to paint 4 coats (not including base and top coat), but for Last Friday Night, the result is worth it. Surprisingly, my manicure has lasted a few days without any chipping or signs of wear. I'm not sure if this is because of the base and top coat combination I used (Revlon Colorstay Gel-Smooth Base Coat and of course, Sally Hansen Insta-Dri), or whether the polish itself has excellent longevity. Probably a bit of both.

Saturday, November 8, 2014

Flashing Rainbows

I haven't been genuinely excited about a nail polish for a while, but my newest discovery has been a revelation. Models Own Northern Lights was another impulse buy that was part of my Luxola order. I was looking for something relatively inexpensive that would qualify me for free shipping, and naturally gravitated toward nail polishes and the Models Own page. The only other Models Own nail polish I had was the exquisite Indian Ocean, so I was hoping to find something equally unique and visually arresting.


I don't have any purely holographic polishes despite a strong interest in them, though I have a few glitter polishes that partially contain holographic glitter. Northern Lights is a dusty, blush pink glitter polish in a clear base, where the individual glitter particles have a strong holographic effect. It's quite a dense glitter polish and two coats sufficed to provide opaque coverage. I first used two coats of Savvy by DB Nude to provide a neutral, tinted base, followed with three coats of Northern Lights, then sealed everything with my trusty Sally Hansen Insta-Dri Anti-Chip Top Coat. It's been six days and still not a chip in sight — a seriously impressive feat given glitter polishes are notorious for chipping quickly.

Northern Lights is absolutely dazzling in direct sunlight but still powerfully holographic under artificial or indirect light. Despite that, it doesn't seem gaudy or OTT, mainly due to the muted pink base and the small, uniform glitter particles. If it were made of chunky, differently sized glitter, and there was a stronger contrast between the holographic effect and the base colour, the whole character of the polish would change. Northern Lights manages to pull off a rare thing: elegance in a party varnish.

Saturday, July 26, 2014

Backup Worthy

You know you really like a product when you've bought it again before the one you're currently using has even run out. Sure, we have those ever-repurchased staples (mine include Avène Thermal Spring Water, Klorane dry shampoo with oat milk, Sally Hansen Insta-Dri, Daiso Cotton Puffs, Cutex Nourishing Nail Polish Remover, and of course, Bioderma Créaline H₂O), but every now and then, a product you've newly discovered feels so valuable and indispensable, you can't help but want to stock up.


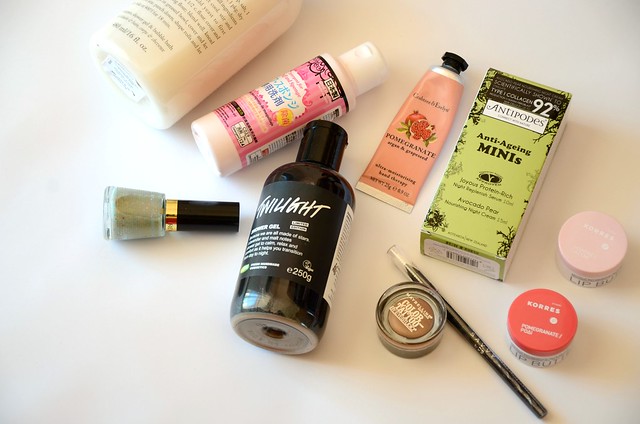
The easiest way to ensure a routine shower becomes a pampering experience is to get your hands on a simply irresistible shower gel. As soon as I featured 
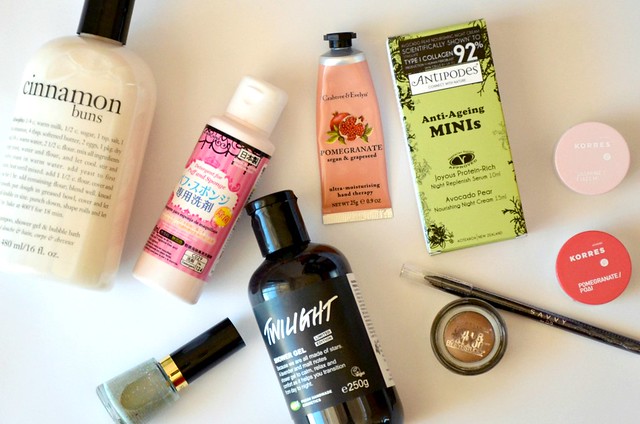
philosophy Cinnamon Buns Shampoo, Shower Gel & Bubble Bath from the The Cookbook set in my April 2013 Favourites, I was already intent on restocking the full size bottle from StrawberryNET. And I wasn't even halfway done with my existing 120ml bottle. The creamy, sugary, slightly spicy, doughy goodness was like having dessert in the shower. On the other hand, LUSH Twilight Shower Gel is less food-like, but still intensely sweet, with a hefty dose of calming lavender. Unlike the philosophy, the relaxing, bedtime-priming scent stays close to your skin and lingers even after you've stepped out of the shower. Being limited edition, I rationed my first tiny 100g bottle for months, so naturally I pounced when I saw LUSH selling Twilight again last October.


Taking a couple of minutes to treat yourself to a good hand cream can be a simple but effective pick-me-up during a day at work staring endlessly at a computer screen. The distinctive, heady and bright scent of Crabtree & Evelyn Pomegranate, Argan & Grapeseed Hand Therapy lifts the spirits while providing relief to dry hands. Another fixture in my makeup bag are the 
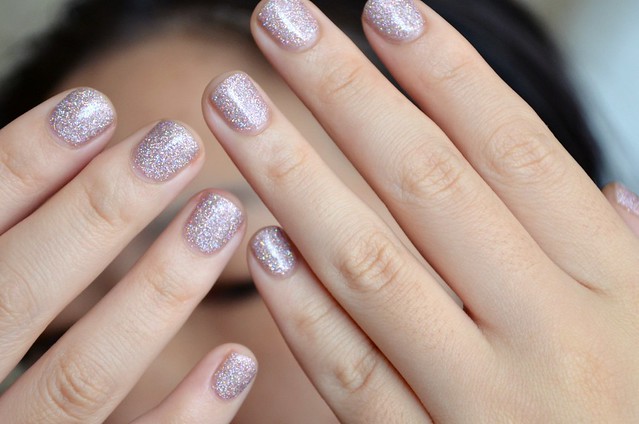
Korres Lip Butters. Softening, hydrating, attractively packaged, not too intimidating in terms of colour payoff, as well as multipurpose (I've used Pomegranate many times as a cream blush), there's a reason why I've collected almost all the shades.


Occasionally, a deal will strike me as such good value that repurchasing not only seems prudent, but almost essential. When I calculated that the full size versions of the products contained in the 
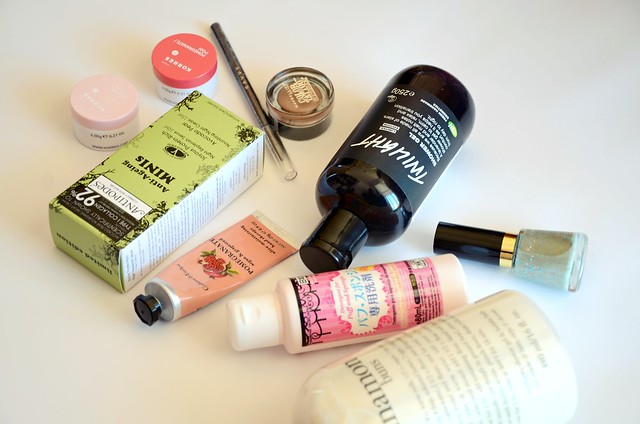
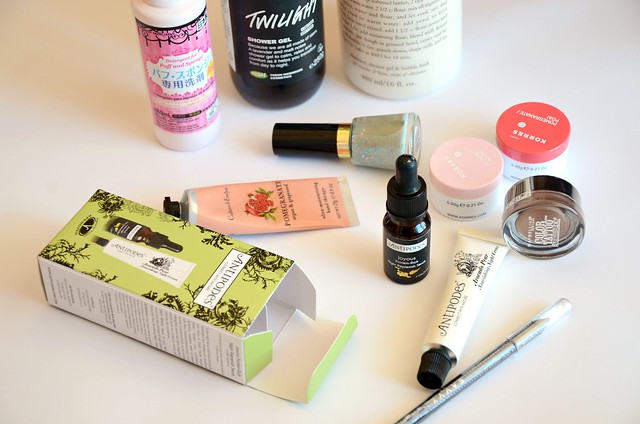
Antipodes Anti-Ageing Minis set would have to be nearly half price to give me equivalent value, I rushed out to buy another box. (The threat of a 'limited edition' label probably played a role too.) Antipodes isn't the cheapest of brands, so on top of the satisfaction of scoring a good deal, I readily incorporated both the silky smooth, deeply hydrating Joyous Protein-Rich Night Replenish Serum and rich, thirst-quenching Avocado Pear Nourishing Night Cream into my evening skin care routine.


Daiso Detergent for Puff and Sponge was such a revelation the first time I used it, I had to secure myself a backup bottle ASAP. No more bending over the sink, scrubbing and scrubbing brushes using my open palm and baby shampoo. Make no mistake, this stuff is life-changing.

The final three repurchased items now seem questionable to me, given the likelihood I'd ever finish up the original product. More to the point, I've either cooled my enthusiasm, a once scarce product has now become widely available, or I've since found superior or equally excellent alternatives.

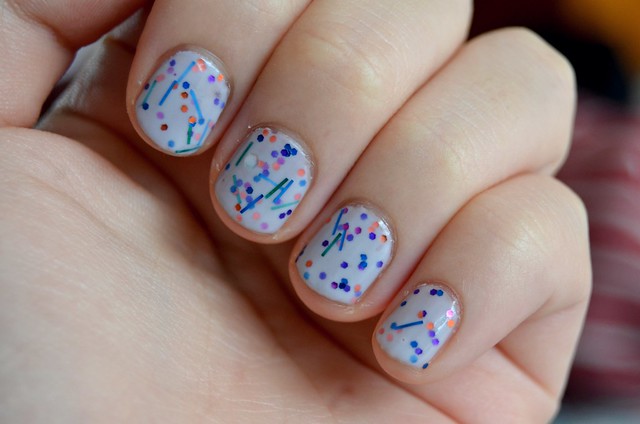
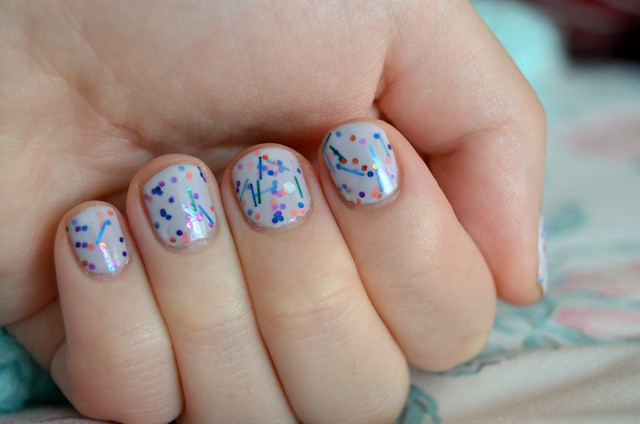
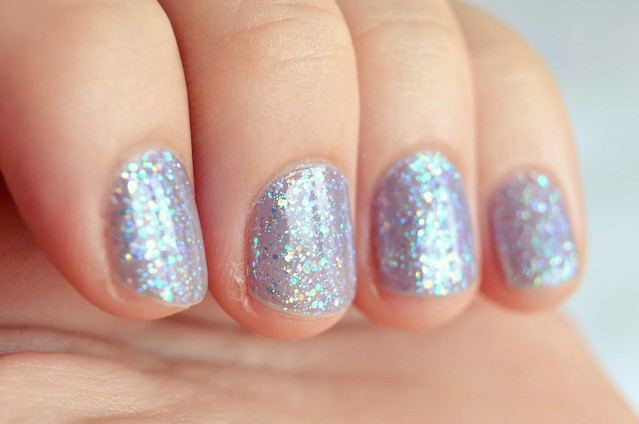
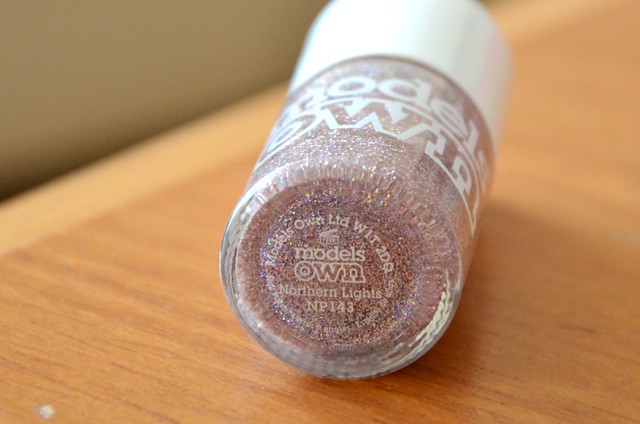
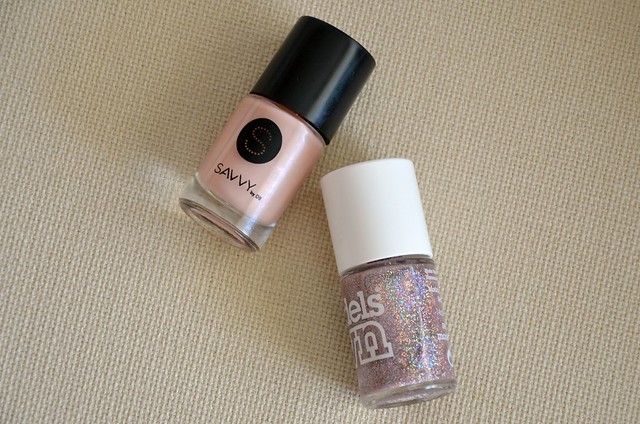
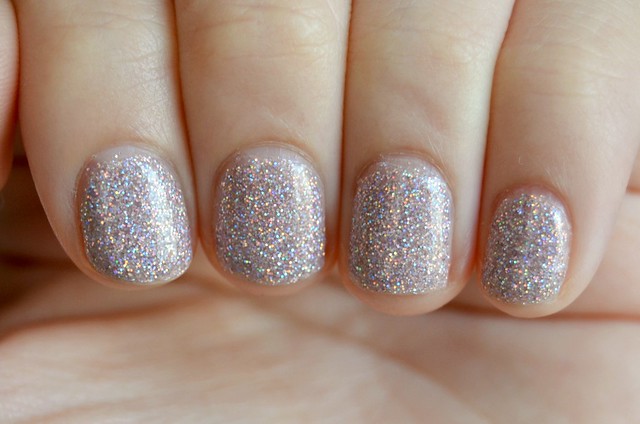
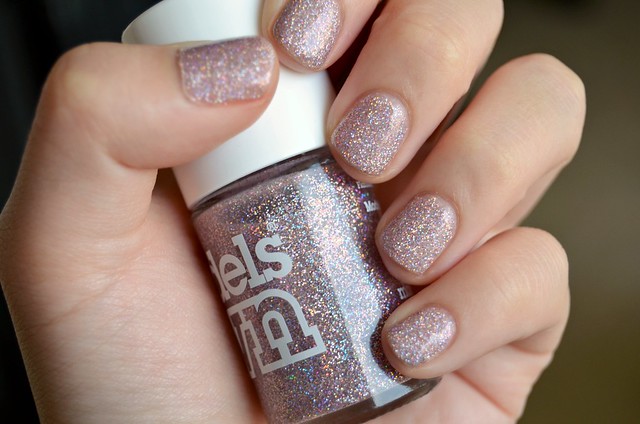
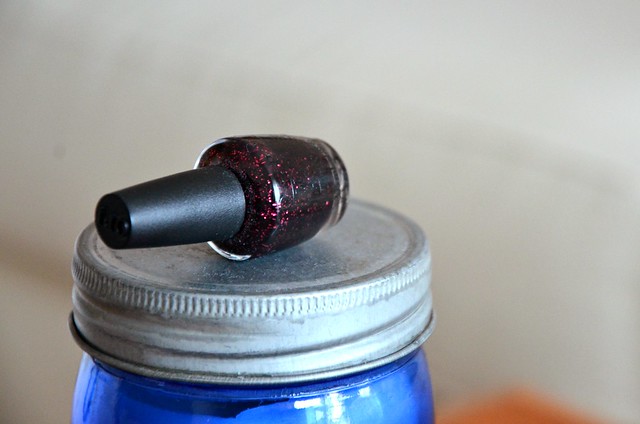
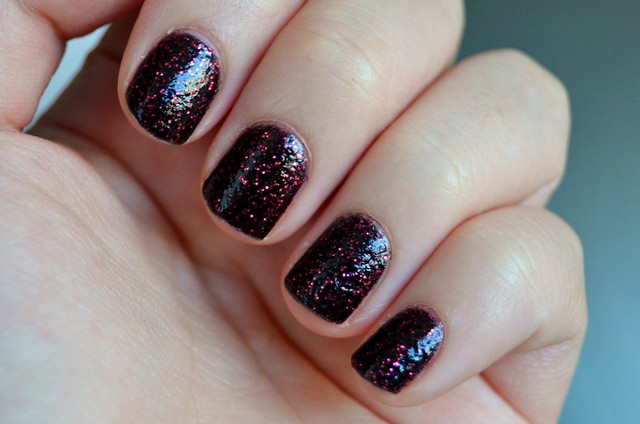
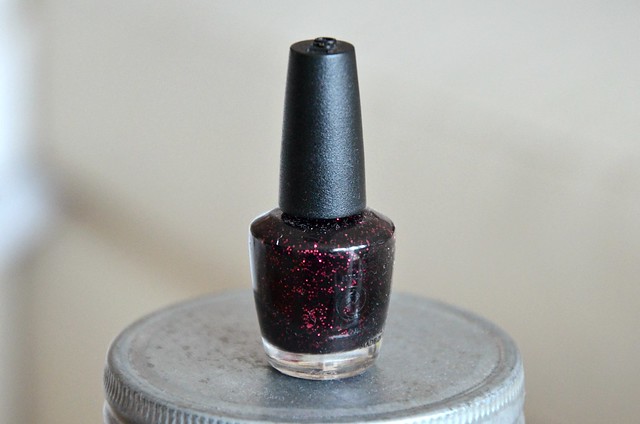
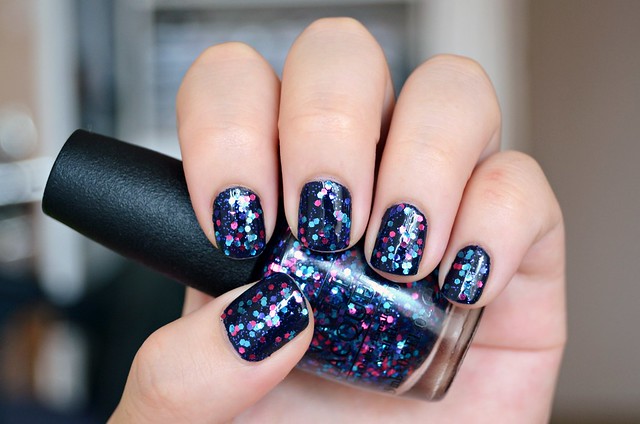
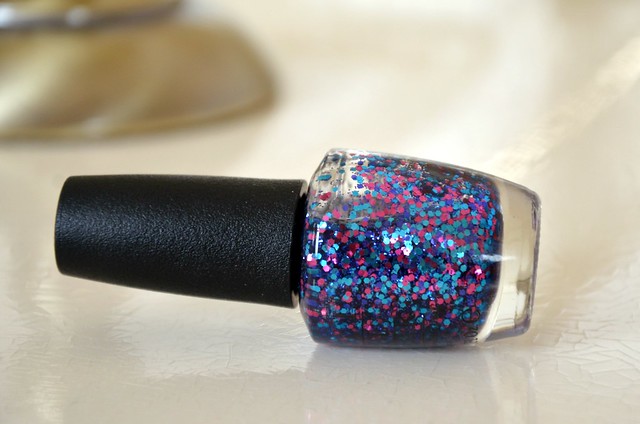
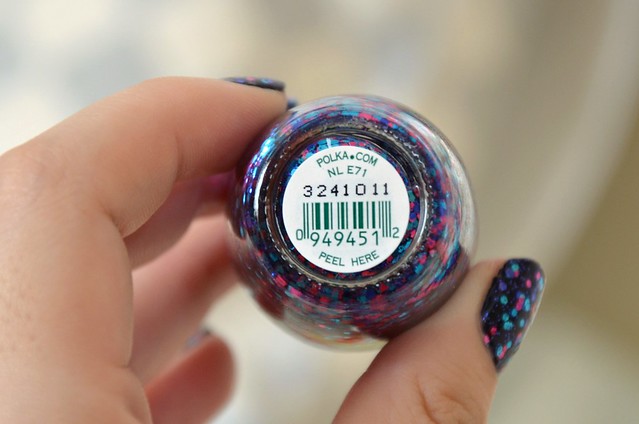
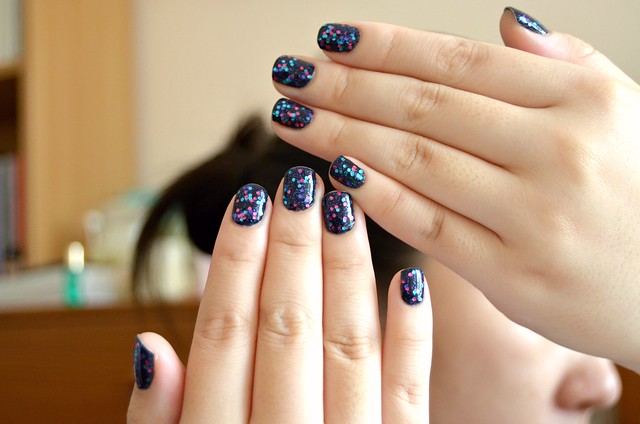
There was a time when the prospect of welcoming Revlon Whimsical into my nail polish collection seemed as elusive and dream-like as its name might suggest. The moment I stumbled across a bottle at Rite Aid while holidaying in New York City was one of quiet, triumphant joy mixed with disbelief. When Whimsical finally made its way to the shops here, I undid my regret at not buying another bottle when I had the chance in NYC. Despite needing to tediously paint about 4 coats for complete opacity, and wearing it more than any other polish I own, my current bottle shows no signs of being completely used up for quite some time. I may get to opening the backup in 2016.

Savvy by DB Luxury Liner in Shimmering Slate was one of my earliest eyeliner discoveries, and being super affordable at $3 on sale, I bought a bunch a couple of years back. Since then, I've moved on to the efficiency, precision and ease of use of felt tip eyeliners for my upper lash line. I also avoid black on my lower lash line where I'd normally use a pencil, preferring instead taupe or metallic browns.

Maybelline Color Tattoo in Bad to the Bronze still remains one of my most adored eyeshadows, but my existing pot has largely dried out, making the texture challenging to work with. While I have a backup right there, I'm hesitant to open the new one when the old one is only about 30% used up. Which really just makes me wonder under what circumstances I'd ever open the brand new one, given solid use over 2 years only diminished a third of the product, and I've put off 'fixing' my dried out cream eyeshadow for months. Time to utilise a backup for precisely its purpose, methinks.

Tuesday, July 15, 2014

Crystals and Jam

Following my review of Get Your Number from Mariah Carey's first collaboration with OPI, I'm finally posting about another polish from the Liquid Sand minis set I was given for my birthday last March, Stay the Night. Despite looking moody and alluring in the bottle, a jet black base packed with gleaming cranberry glitter, most swatches I'd seen were a letdown. It resembled red-flecked pebbly tar, like charred muck stuck onto the nails with generic sparkly bits peeking through.


With Stay the Night, I'd have to wholeheartedly agree with Cassie's review that only loads of topcoat salvages things. One coat isn't even enough to bring the polish alive, I find I need at least two. Even then, it's still relatively bumpy and uneven in texture. The actual look however, is transformed from ugly and dull to eye-catching and complex, like crushed up ruby crystals in semi-set black jam. The contrast between the colourful, dense glitter and the dark base is amped up, accentuating the appearance of partially translucent layers that give the illusion of depth. The effect was enough for me to describe it as "alarmingly pretty" the first time I wore it, particularly in direct sunlight.

Wednesday, December 25, 2013

Bauble Bounty

Another Christmas, another festive nail art. This year, I felt a strong pull towards red which I ordinarily never wear. I've recently enjoyed sporting both OPI The Impossible from the first Mariah Carey collection and OPI The Spy Who Loved Me from the James Bond Skyfall collection, which I purchased as part of The Bondettes Mini Nail Lacquers set. I came across these Christmas nail designs from Amy and was particularly drawn to the Christmas tree. I've attempted my own take on it, of course with ridiculous amounts of bling.


To achieve my look, I first started with a base of OPI The Spy Who Loved Me, a bright, juicy red with subtle gold shimmer. I then stuck two pieces of sticky tape diagonally to either side of the nail to create a triangle shape in the middle. Inside that area outlined by the sticky tape, I painted Sinful Colors Envy (960) to form my tree. After two coats of the dark green polish, I carefully and slowly peeled off the sticky tape to reveal clean, straight edges for the tree. I then painted a small dot at the apex of the tree (right in the middle just below the the tip of my nail) with the spectacular OPI GoldenEye to make my star.

Next comes the labour-intensive, patience-testing part of 'decorating' the tree. Essentially I used two glitter polishes in a clear base, OPI The Living Daylights and OPI Polka.com, and fished out the glitter pieces in each with a toothpick. I then dotted them onto the green section of the nail as evenly as possible to mimic the look of shiny baubles hung from the tree. I probably was a touch overenthusiastic with the glitter and ended up with a higher density of glitter than ideal, in effect obscuring much of the green background of the tree. But whatever, it's Christmas. Excess is all part and parcel of the holiday season.

As if that wasn't enough razzle dazzle, I then painted a layer of the gold flake topper Essie As Gold As It Gets for that extra touch of luxe. To finish, I applied a generous coat of my favourite top coat ever, Sally Hansen Insta-Dri, to smooth things over, lock everything in place and impart an ultra-glossy finish.


I normally don't go for anything this elaborate but I figured when else but Christmas. I've received numerous compliments (from girls) and some teasing for evidently having too much time on my hands (from a guy). As I mentioned last year, my family isn't big on Christmas and we've certainly never had a Christmas tree in our home, so I'll have to be content with these ones on my nails. Hope you all have a lovely Christmas with your nearest and dearest!

Sunday, December 15, 2013

Nightlife Sparkle

I wasn't sure if I was tiring of glitter polishes when OPI Polka.com came out from their Spring 2013 Euro Centrale Collection. After buying all the polishes from the limited edition Face of Australia Glitterati Collection, I felt a bit over glitter (shock, horror). There was something cheap, tacky and increasingly unimaginative about them — not to mention being a total nightmare to remove. David Jones recently had a buy one, get one free offer on OPI nail lacquers. The last time they held the same promotion, my friend and I selected a polish each for half the normal price and I picked the nude OPI Loves David Jones. This time around (possibly inspired by Mishelle's picks), I felt a strong pull back towards my glitter roots.


Polka.com consists of turquoise, hot pink and royal purple hexagonal glitter of uniform size with royal purple glitter dots in a clear base. Here, I chose to pair it with a dark navy base (two coats of Rimmel 60 Seconds nail polish in Aye, Aye, Sailor). I wanted a more indigo, slightly brighter (but still deep) blue, but the inky Aye, Aye, Sailor was the next closest thing.

I'm often immediately drawn to how a glitter polish looks like in the bottle and want to replicate the same effect on my nails. For that reason, I often prefer to wear glitter polishes on their own, even if the process calls upon a great deal of patience in painting multiple coats to achieve the density of glitter required. Polka.com however, seems more suited to being a glitter top coat. Its unique mix of coloured glitter can subtly transform the look of an entire manicure depending on what colour is selected as the base. I feel darker colours really complement and harmonise with Polka.com, giving the illusion of depth, compared with lighter, more pastel colours where the glitter appears disjointed, busy and very flat on the nail.

I've always been impressed with the superior quality of OPI glitter polishes (Teenage Dream, The Living Daylights and Lights of Emerald City are some of my favourites) and Polka.com is no exception. It may be a random observation, but the polish paired with Aye, Aye, Sailor brought to mind the bokeh-inspired packaging of the Revlon Lash Potion by Grow Luscious mascara (minus the green). It's a glitter concoction that recalls the energy of modern nightlife and the multicoloured lights of the city after dark.

Thursday, December 5, 2013

Jangle All the Way

Purplish-greys are one of my favourite nail polish colours to wear (see Sportsgirl Storm, Sportsgirl Smoke), so Essie Bangle Jangle (770) from the Winter 2011 Collection seemed an ideal addition to my collection. I was tossing up between Bangle Jangle and Cocktail Bling, which appeared in swatches to be slightly darker and less purple, but thought Cocktail Bling might be too grey-leaning and desaturated for my liking (didn't want another Sally Hansen Wet Cement). When I first tried on Bangle Jangle, it seemed very similar to Rimmel I Love Lasting Finish polish in Lively Lilac (170), so having both was a bit of a letdown. I thought I'd jazz things up by attempting a glitter gradient with a complementary colour, the coppery Face of Australia Studio 54 from their Glitterati Collection (a 100% dupe for Sportsgirl Rose Gold — seriously, it's the same polish).


I really liked the combination of Essie Bangle Jangle and Face of Australia Studio 54. Somehow, the flourish of glitter manages to rescue an otherwise ordinary creme. Studio 54 would've been blinding and excessive on its own, but paired with a hazy, dusty purplish grey, it adds just the right amount of pizzazz. The glitter "gradient" was surprisingly easy to do, with one layer of Studio 54 painted to around the middle of the nail, and a second layer more concentrated around the base of the nail only. I attempted this kind of mani once before and was pleased with the results, so I enjoyed revisiting it again. From experience, a glitter like Face of Australia Studio 54 (with a mix of small hexagonal glitter and ordinary glitter dots in a clear base) works better for a gradient effect than a more dense glitter made up of larger glitter pieces of the same size.
Related Posts Plugin for WordPress, Blogger...